Can I have an arcade cabinet?
When I was a kid, I loved playing arcade games! I would go to arcades and walk laps trying to figure out what machines would be worthy of the quarters I stole from the jar my mother kept for laundry money. Even when we went on vacation, I'd find the arcade at the hotel or even inside The Magic Kingdom itself, and hang out there en lieu of going on rides. Arcade machines also didn't spill the beans if you were ditching school. Neither would the places that housed them especially because you were spending money playing them. It was a vicious circle.
I'd like to think it's everyone's dream to have at least one arcade cabinet in their own home. Right? Not just me? I mean, I'd obviously love several. A whole line down a single wall somewhere in my house. If there's one thing everyone remembers from the show "Silver Spoons", it's they had an "arcade" in their house. Something like that. (However, I am not a fan of R. Schroder (not pictured) these days. But Alfonso Ribeiro (also not pictured) is still cool. The Fresh Prince Reunion was fantastic!)

So I started looking at videos on how to build my own arcade cabinet, and just like everything else, there is an easy - medium - and hard way to do it.
Easy would be just to flat out buy a cabinet that is ready to go. Arcade 1Up has been making some solid mini cabinets that many come with up to three games preloaded. These mini machines are kind of low to the ground, but they offer "risers" to add a couple feet to them so you're not hunched over when you play them.
Medium approach requires a little work and ironically just a little more money. Once you have your Arcade 1Up machine, you can modify it with a new computer to expand its library, give it more buttons, and a light display! This seems to be the most popular option in the world of arcade cabinet modifications. To take an existing unit, and just "Pimp My Ride" it out. Depending on the core of your unit depends on how much work you may have to do to it. You can take a machine that comes with one joystick and one set of buttons and update it for two. But they also have machines that accommodate two players already with 3-6 button set ups. Most of the videos I've seen do this.
Hard route, and the way I am probably going to go, requires some building and fabricating. But in the end, this is the least expensive way to go. As long as you know how to set up the core component of the computer (Raspberry Pi) and the display, you just have to figure out where you want to house it. There are places online that have plans you can download for 3D printing. Also schematics so you can cut your own pieces out of wood. However, I think what I am ultimately going to do is make something that you wouldn't expect to be an arcade cabinet. I'm not going to reveal too much now, but I will document everything which will culminate in part 2 of this post. Below these videos that explain these three degrees, you'll see the first couple I built.
Medium
Hard
I thought it would be best with my cabinet build to start small. Really small. Like, really really small! So I found a page that has templates you can print, cut old, and fold your own mini-arcade cabinet!

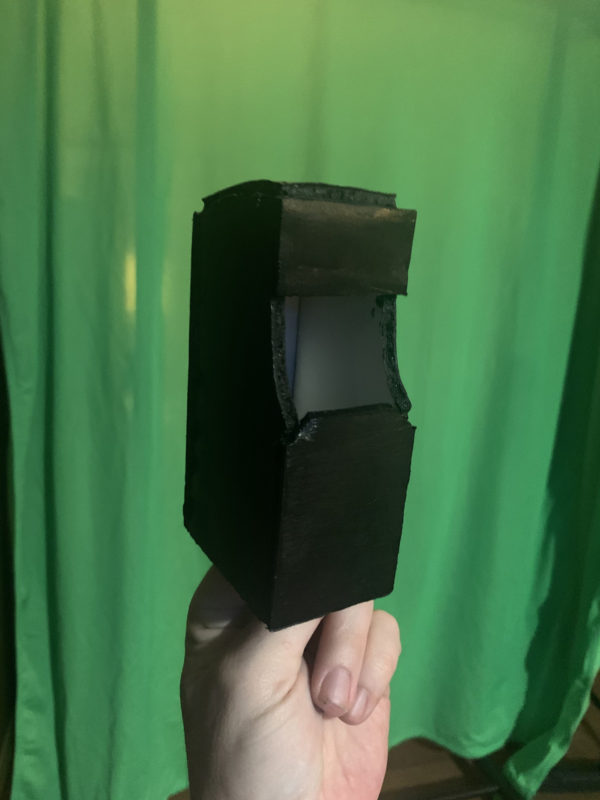
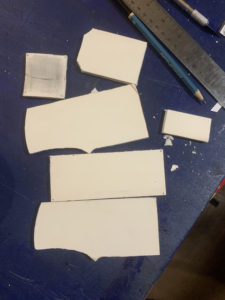
I thought the next step would be something a little more three dimensional. I had some cardboard, almost like coaster board, and I thought that would be perfect. I used the paper plans and cut them out as templates for the parts. I used hot glue to put the places together. Another adhesive would've been better. Almost anything, really. I used some lanyard/gimp for the trim and an old iPod for the display. It can be used functionally like this when plugged in to an aux speaker.


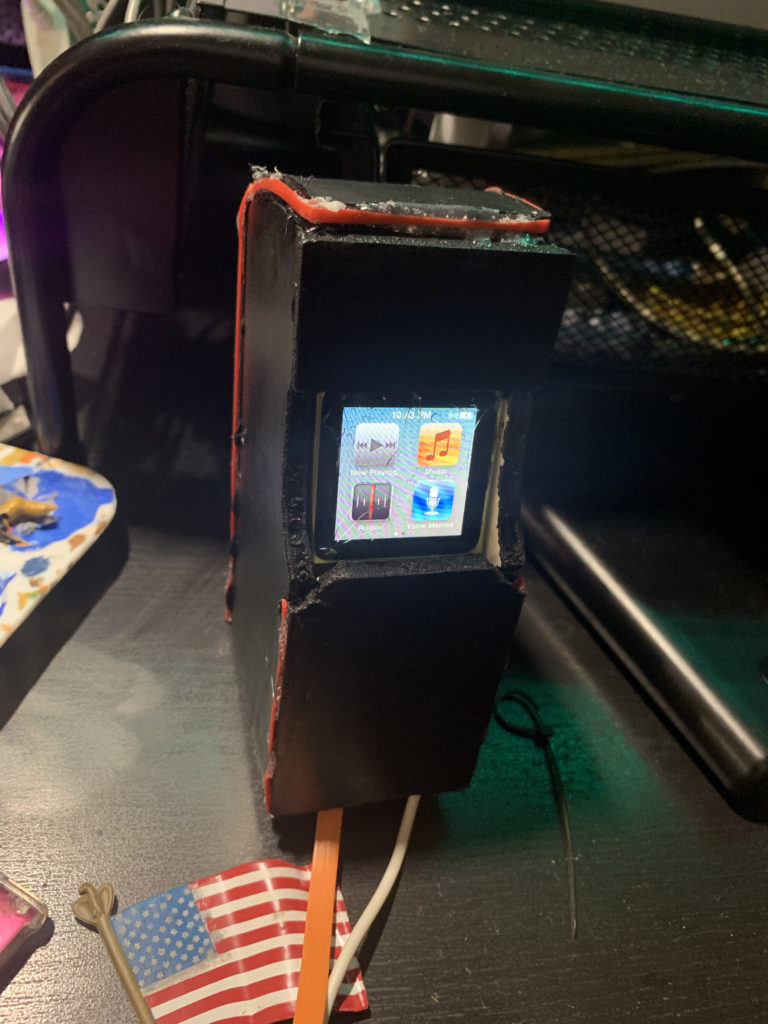
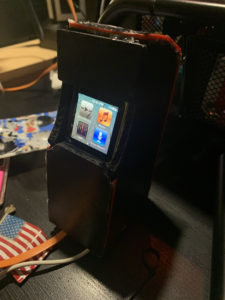
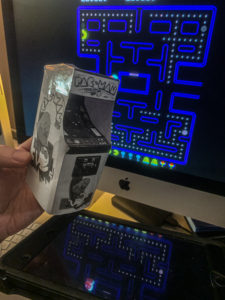
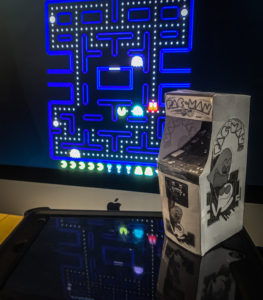
And since they were used for the plans, the original paper cutouts can be colored and applied as the artwork on the cabinet! Or you can always design your own! I think I am just going to display these two. I can't wait to share with everyone what I am going to build! I hope to get started in the next couple weeks. Keep checking MagicCityMayhem.com for updates!

